Cut and Paste
Cutting and pasting works in the same manner as copy and delete. A figure or group of figures must be selected to use one of these application functions. After a selection has been made, touch and hold on the drawing canvas for ~1 second or press on the Contextual Menu Button in the Top Toolbar to bring up the Contextual Menu, as shown below:
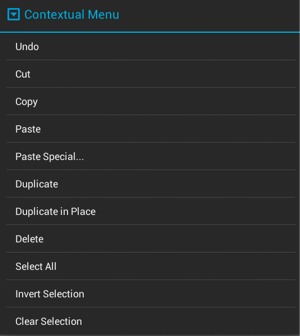
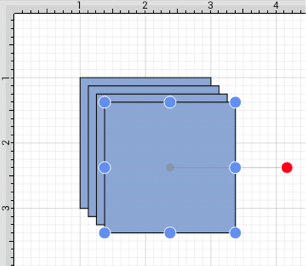
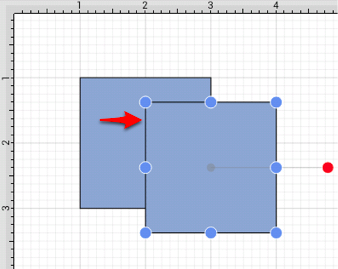
The Cut option removes the figure from the drawing canvas and adds it to the clipboard. The Paste option directs TouchDraw to paste the contents of the clipboard into the drawing. Pasting the clipboard contents multiple times into the drawing canvas causes the figure(s) to be placed in slightly offset positions as shown below.
The Paste Special… Submenu can be used to perform additional pasting actions.
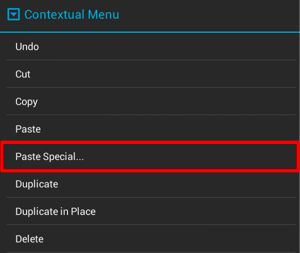

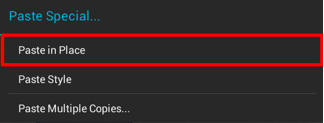
To paste a figure in the same exact location, open the Contextual Menu, press on the Paste Special… Submenu, and then press on the Paste in Place option.
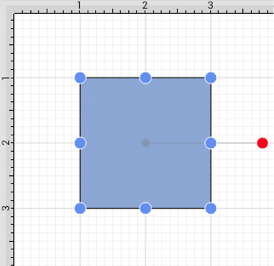
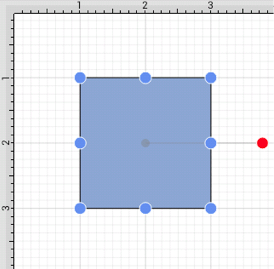
To see the pasted figure select the figure and drag in any direction. In the example below, the pasted figure is dragged to the right.
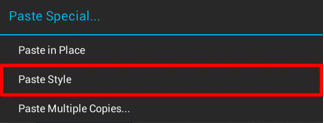
To paste the style of a figure, open the Contextual Menu, press on the Paste Special… Submenu, and then press on the Paste Style option. Refer to the Paste Style section of this documentation to learn more.
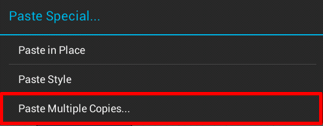
To paste multiple instances of a figure into the clipboard, open the Contextual Menu, press on the Paste Special… Submenu, and then press on the Paste Multiple Copies… option. A window for setting the offset axis values and the number of copies will appear in the upper right hand corner of the drawing editor. Tap on the up and down arrows beside each option to change the value. Press on the Paste Button when finished to complete the paste.
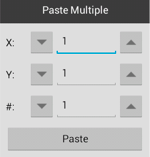
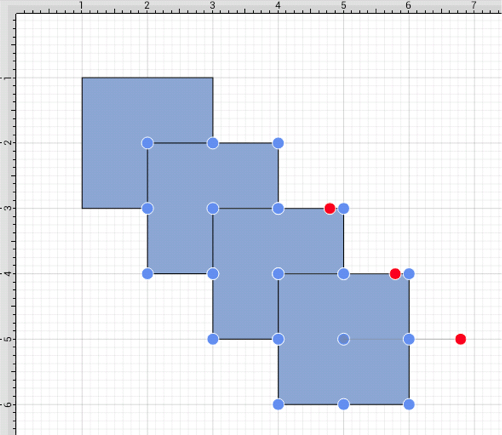
Tap anywhere within the drawing editor to close this window. Multiple pastes of the clipboard content will cause each figure to be placed in slightly offset positions as shown below:
